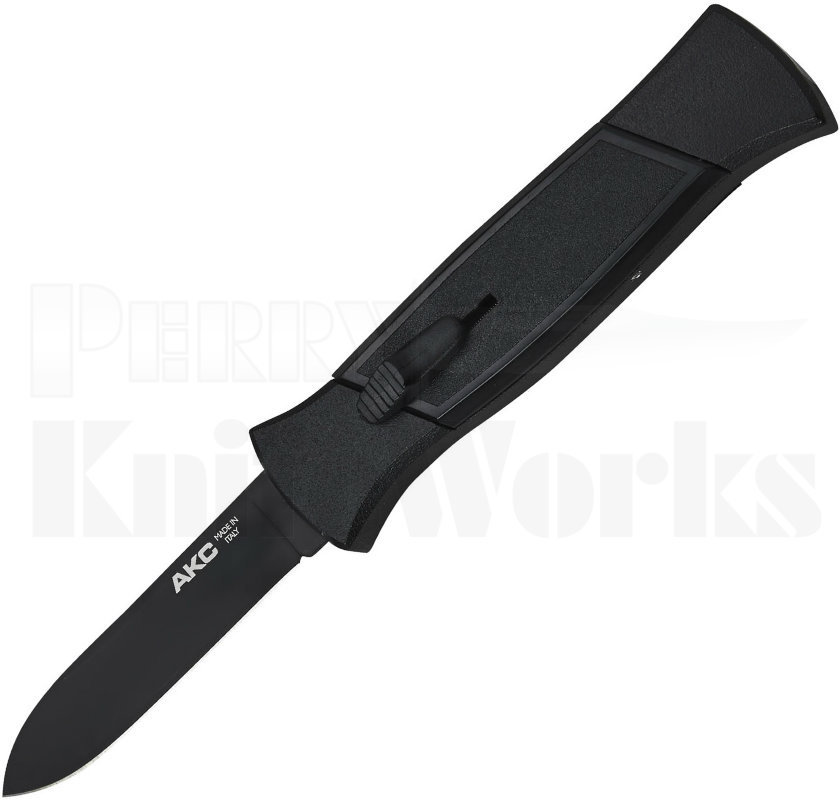
Automatic knives take a lot of beating. Owner habitually fires and retracts the knives just for fun. It’s just cool to do so! If you also own an automatic knife then chances are that you use it on a regular basis.
With all that use, it is exposed to dust, wear, and tear. The spring also gets loose.
In such a case, it is advised to get your automatic knife serviced by a professional. The cleaning and maintenance of your knife can also be done at home easily.

Let us go through the steps required for it.
-
Tools required for cleaning your automatic knife
Make sure all the necessary tools and equipment are available. You also need a lubricant, a soft sponge to clean out the dirt. Screwdriver is a must to unscrew the screws to explore the inner components of the automatic knife.
-
Open up the automatic knife
Unscrew the screws using your screwdriver and remove the top plate. Make sure you won’t replace the screws and keep them loose.
-
Disassemble the parts
Remove the inside components carefully. Remove the blade. Withdraw the spring and the metal plate setting them aside.
-
Clean the components
Take a soft sponge and remove all the dust. Don’t leave fibers behind and also clean the blade and all other tiny parts that have been removed.
-
Lubricate the inner handle
Spray lightly inside the bottom casing with rust-free WD-40 and wipe away excess with the rag.
-
Reassemble automatic knife
Reassemble your automatic knife first with the blade. Do not slide it all the way down.
Now reattach the spring, locate the long lip and apply it to the flat side of the metal plate.
Add the thumb piece, and then place the top plate back in place. Tighten the screws properly
